Ryobi 2079r Manuel de l'opérateur Page 14
- Page / 24
- Table des matières
- DEPANNAGE
- MARQUE LIVRES
- OPERATOR’S MANUAL 1
- THANK YOU 2
- SPECIFICATIONS 2
- SERVICE INFORMATION 2
- SPARK ARRESTOR 3
- WARNING! 3
- RULES FOR SAFE OPERATION 4
- OIL AND FUEL INFORMATION 9
- STOPPING INSTRUCTIONS 10
- STARTING INSTRUCTIONS 10
- OPERATING INSTRUCTIONS 11
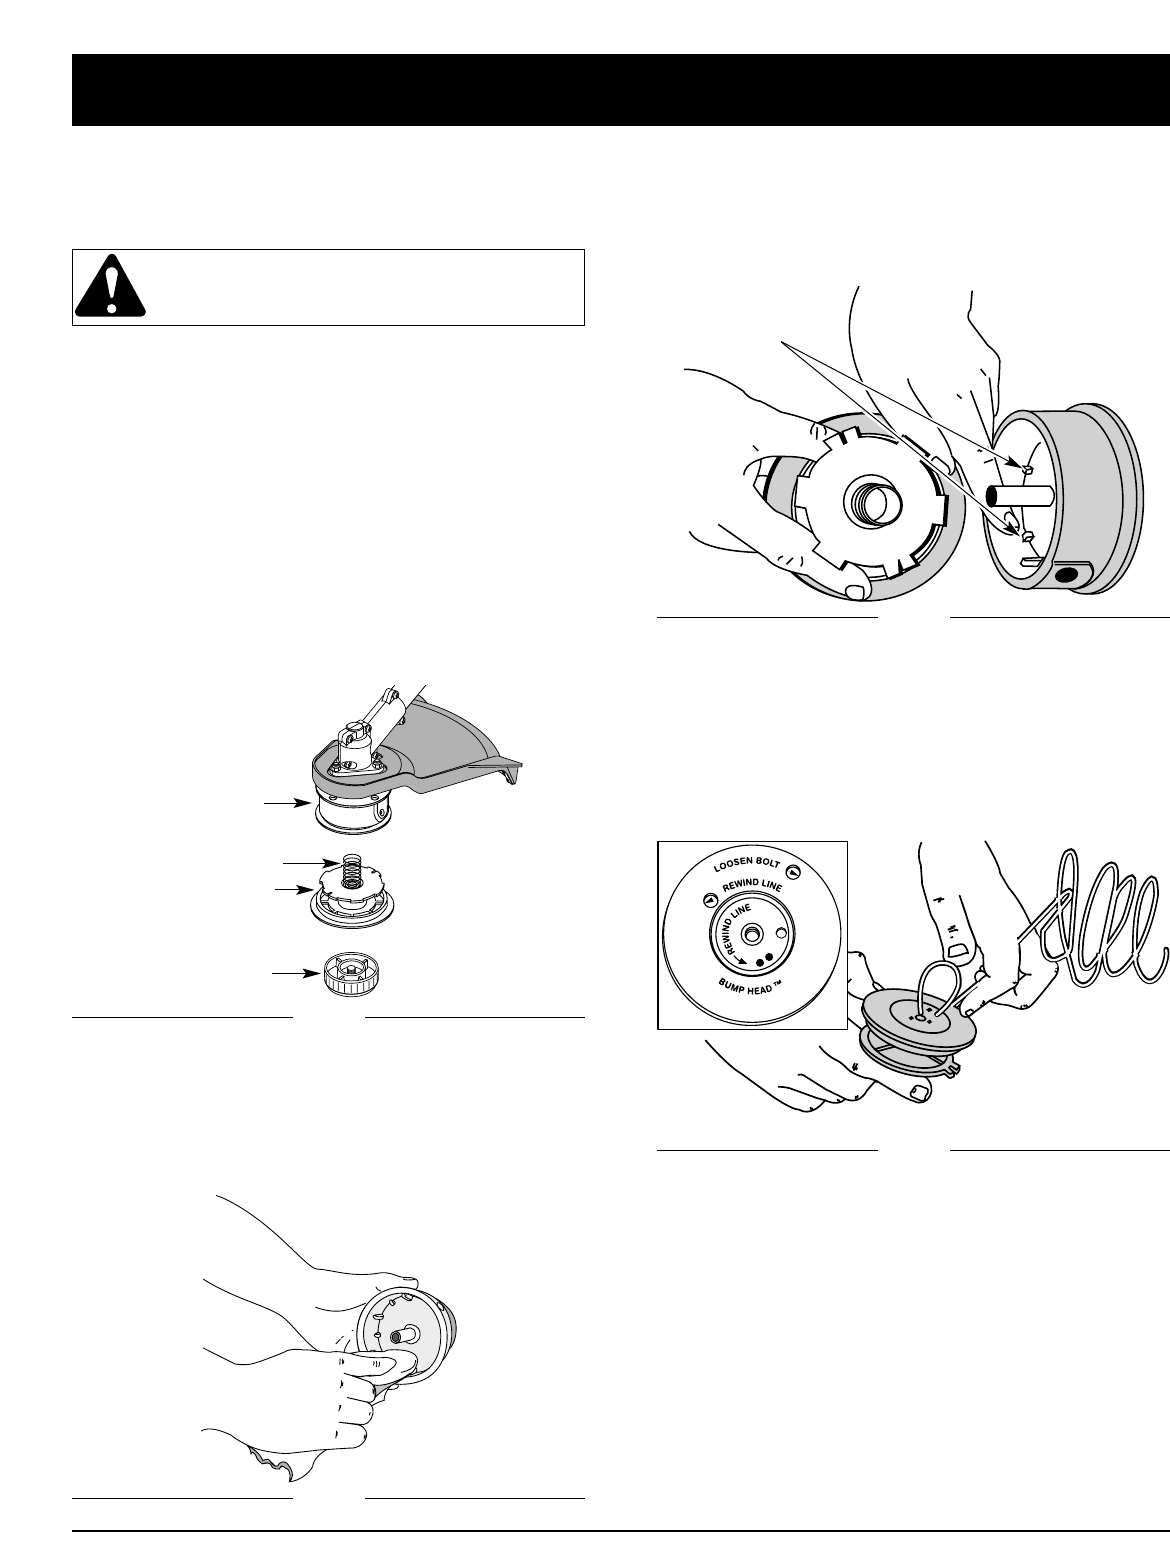
- LINE INSTALLATION 14
- Holding Slots 15
- AIR FILTER MAINTENANCE 16
- CARBURETOR ADJUSTMENT 17
- ACCESSORIES/REPLACEMENT PARTS 18
- REPLACING THE SPARK PLUG 18
- CLEANING AND STORAGE 19
- TROUBLESHOOTING 20
- LIMITED TWO-YEAR WARRANTY 24
Produits connexes et manuels pour Outils de jardin Ryobi 2079r
 (20 pages)
© 2020, manymanuals.fr. Tous droits réservés | 1.129 s |
 Manymanuals.com
 Manymanuals.de
 Manymanuals.fr
 Manymanuals.it
 Manymanuals.pl
 Manymanuals.cz
 Manymanuals.es
 Manymanuals-pt.com
Commentaires sur ces manuels