Ryobi P530 Manuel d'utilisateur
Naviguer en ligne ou télécharger Manuel d'utilisateur pour Outils électriques Ryobi P530. Ryobi P530 User's Manual Manuel d'utilisatio
- Page / 16
- Table des matières
- MARQUE LIVRES
Résumé du contenu
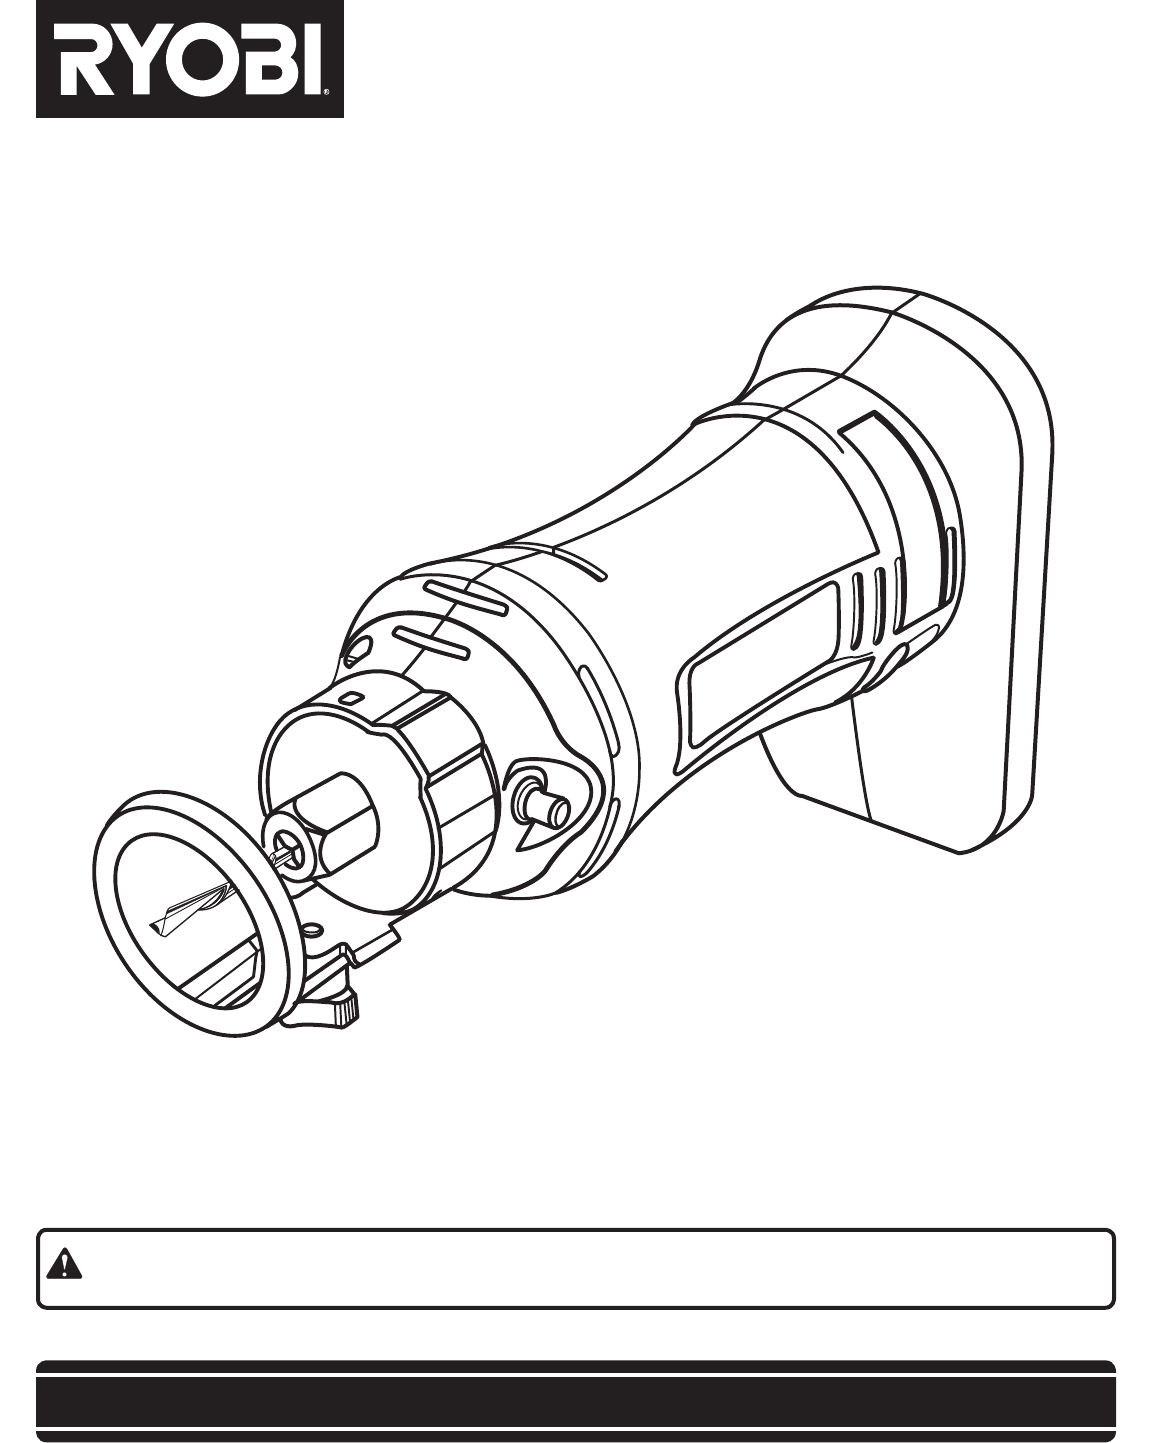
OPERATOR’S MANUAL18 VOLTSPEED SAW™P530SAVE THIS MANUAL FOR FUTURE REFERENCEYour speed saw has been engineered and manufactured to Ryobi’s high standar
10ATTACHING CIRCLE CUTTERSee Figure 4.n Remove Battery Pack From speed saw.n Assemble circle cutter if necessary. Refer to “Assembling Circle Cutter.”
11OPERATIONAllow the battery pack to remain in the charger for 15 to 30 minutes. When the battery pack reaches normalvoltage range, the red LE
12INSTALLING BATTERY PACKSee Figure 6.n Place battery pack on the speed saw.n Align raised rib on battery pack with groove in saw’s bat-tery port.n
13USING CIRCLE CUTTERSee Figure 9.n Assemble circle cutter if necessary. Refer to “Assembling Circle Cutter” in this manual.n Attach circle cutter to
14WARNING: To prevent accidental starting that could cause serious personal injury, always remove the battery pack from the tool when making adjust-me
15MAINTENANCEWARNING:When servicing, use only identical Ryobi replacement parts. Use of any other parts may create a hazard or cause p
RYOBI TECHNOLOGIES, INC.1428 Pearman Dairy Road, Anderson, SC 29625Post Office Box 1207, Anderson, SC 29622-1207Phone 1-800-525-2579www.ryobitools.com
2INTRODUCTIONThis tool has many features for making its use more pleasant and enjoyable. Safety, performance, and dependability have been given top pr
3GENERAL SAFETY RULESWARNING!READ AND UNDERSTAND ALL INSTRUCTIONS. Fail-ure to follow all instructions listed below, may result in electric shock, fir
4n Hold tool by insulated gripping surfaces when per-forming an operation where the cutting tool may contact hidden wiring or its own cord.
5n An extension cord should not be used unlessabsolutely necessary. Use of improper extension cord could result in a risk of fire and
6SYMBOLSSome of the following symbols may be used on this tool. Please study them and learn their meaning. Proper interpreta-tion of these symbols wil
7SYMBOLSSERVICEServicing requires extreme care and knowledge and should be performed only by a qualified service technician. For service we su
8FEATURESFig. 1PRODUCT SPECIFICATIONSMotor.......
9Fig. 2Fig. 3HANDLEPIVOT POINT KNOBWRENCHTABSCREWNUTASSEMBLYUNPACKINGThis product has been shipped completely assembled.n Carefully remove the tool a
Produits connexes et manuels pour Outils électriques Ryobi P530
 (52 pages)
 (34 pages)


© 2020, manymanuals.fr. Tous droits réservés | 1.511 s |
 Manymanuals.com
 Manymanuals.de
 Manymanuals.fr
 Manymanuals.it
 Manymanuals.pl
 Manymanuals.cz
 Manymanuals.es
 Manymanuals-pt.com
Commentaires sur ces manuels