Ryobi cordless drill driver hp61 Manuel d'utilisateur Page 11
- Page / 14
- Table des matières
- MARQUE LIVRES
- CORDLESS DRILL-DRIVER 1
- MODEL NO. HP61 1
- DRILLING 2
- LEVEL DRILLING 2
- WARNING: 3
- SAVE THESE INSTRUCTIONS 5
- CAUTION: 7
- See Figure 4 8
- See Figure 5 8
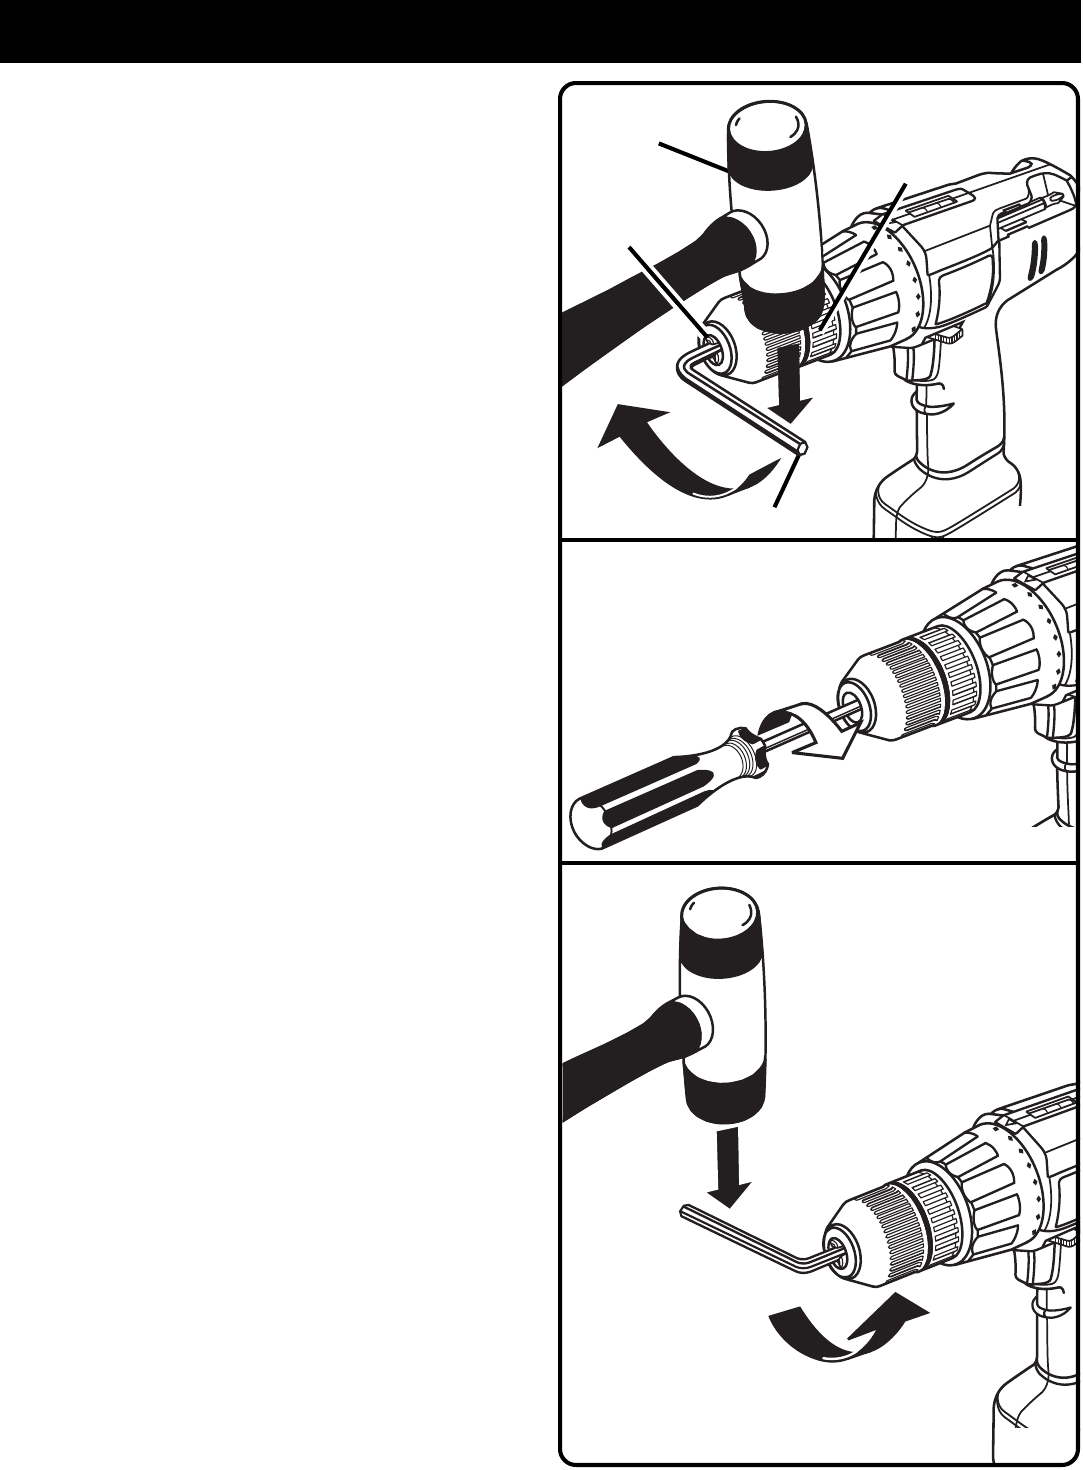
- REMOVING BITS 9
- SCREWDRIVING 9
- BIT STORAGE 9
- OPERATION 10
- See Figure 10 10
- See Figures 11, 12, and 13 11
- See Figure 11 11
- See Figure 12 11
- See Figure 13 11
- MAINTENANCE 12
- BATTERY REMOVAL 13
- See Figures 14 and 15 13
- See Figure 15 13
- RYOBI AMERICA CORP 14
- RYOBI CANADA INC 14
Produits connexes et manuels pour Outils Ryobi cordless drill driver hp61


 (50 pages)
(20 pages)
(26 pages)
(26 pages)
(14 pages)
(14 pages)
(24 pages)
(50 pages)
(20 pages)
(26 pages)
(26 pages)
(14 pages)
(14 pages)
(24 pages)

 (16 pages)
(14 pages)
(14 pages)
(14 pages)
(16 pages)
(14 pages)
(20 pages)
(48 pages)
(16 pages)
(20 pages)
(16 pages)
(14 pages)
(14 pages)
(14 pages)
(16 pages)
(14 pages)
(20 pages)
(48 pages)
(16 pages)
(20 pages)
© 2020, manymanuals.fr. Tous droits réservés | 1.202 s |
 Manymanuals.com
 Manymanuals.de
 Manymanuals.fr
 Manymanuals.it
 Manymanuals.pl
 Manymanuals.cz
 Manymanuals.es
 Manymanuals-pt.com
Commentaires sur ces manuels