Ryobi BTS10S Manuel d'utilisateur
Naviguer en ligne ou télécharger Manuel d'utilisateur pour Scies à moteur Ryobi BTS10S. Ryobi BTS10S User Manual Manuel d'utilisatio
- Page / 34
- Table des matières
- DEPANNAGE
- MARQUE LIVRES
Noté. / 5. Basé sur avis des utilisateurs
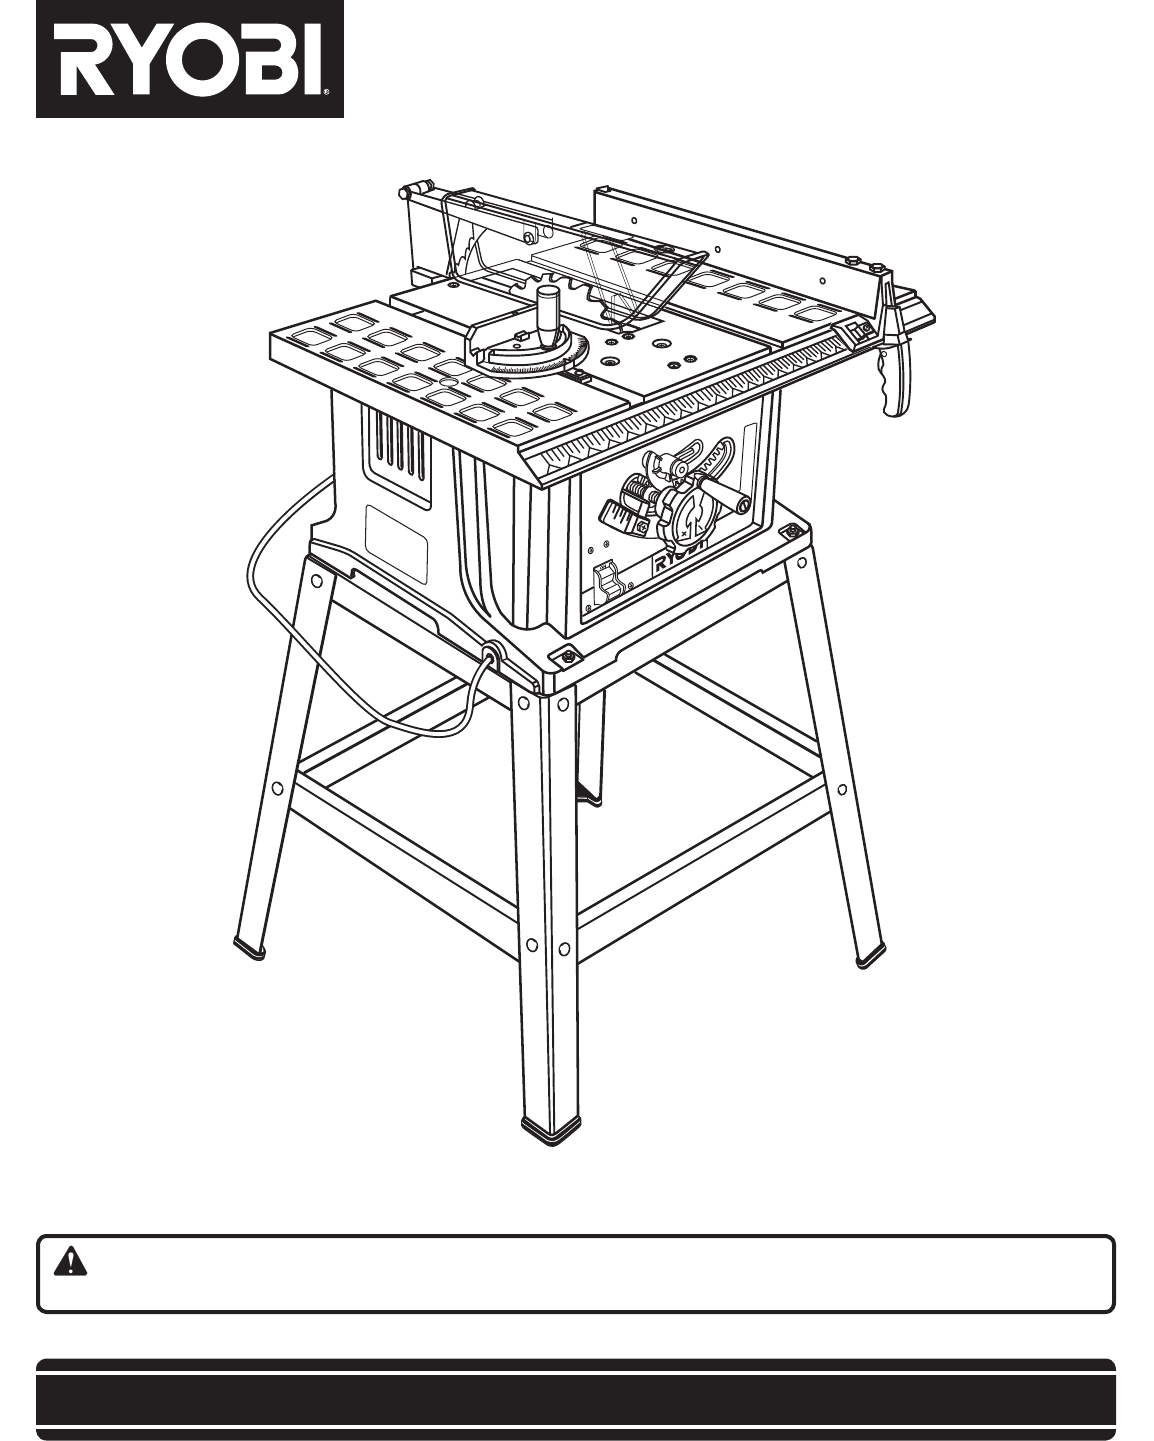
OPERATOR’S MANUAL
10 in. TABLE SAW
BTS10S
SAVE THIS MANUAL FOR FUTURE REFERENCE
Your table saw has been engineered and manufactured to our high standard for dependability, ease of operation, and
operator safety. When properly cared for, it will give you years of rugged, trouble-free performance.
WARNING: To reduce the risk of injury, the user must read and understand the operator's manual before using
this product.
Thank you for your purchase.
Résumé du contenu
Page 1 - OPERATOR’S MANUAL
OPERATOR’S MANUAL10 in. TABLE SAWBTS10SSAVE THIS MANUAL FOR FUTURE REFERENCEYour table saw has been engineered and manufactured to our high standard f
Page 2 - WARRANTY
10FEATURESFig. 2Table Size ...25-3/4 in. x 16 in.Input ... 120 V, 60 Hz, AC
Page 3 - GENERAL SAFETY RULES
11KNOW YOUR TABLE SAWSee Figure 2.Before attempting to use this product, familiarize yourself with all operating features and safety rules.OVERVIEWThe
Page 4 - SPECIFIC SAFETY RULES
12FEATURESBLADESFor maximum performance, it is recommended that you use the 10 in., 24-tooth blade provided with your saw. Additional blade styles of
Page 5
13Fig. 4TOOLS NEEDEDWRENCH (2) 10 mm, 12 mmPHILLIPS SCREWDRIVERFRAMING SQUAREThe following tools (not included) are needed for assembly and making adj
Page 6
14Fig. 5LOOSE PARTS LIST 1 Blade Guard Assembly ...
Page 7 - SAVE THESE INSTRUCTIONS
15The following items are included with the table saw leg stand:Fig. 3 A. Upper Side Brace ...2
Page 8 - ELECTRICAL
16ASSEMBLYTO ASSEMBLE THE LEG STANDSee Figure 6.Assembly is best done in the area where the saw will be used. If you are unsure about the description
Page 9 - GLOSSARY OF TERMS
17ASSEMBLYSHOULDER BOLTLOCK NUTBLADE ADJUSTING HANDLEWASHERMOUNTING THE LEG STAND ON THE TABLE SAW BASESee Figure 7.Do not lift the saw without help.
Page 10 - FEATURES
18ASSEMBLYFig. 10THROAT PLATEFig. 11SCREWFig. 12LARGE WRENCHSMALL WRENCHSMALL WRENCHLARGE WRENCHHEX NUTINNER BLADE WASHERTO TIGHTENARBORTO LOOSENTO RE
Page 11
19ASSEMBLYFig. 14FRAMING SQUARE Reposition the blade guard assembly left or right as needed to align the spreader with the saw blade. Onc
Page 12
2TABLE OF CONTENTS Introduction ...
Page 13 - TOOLS NEEDED
20OPERATIONWARNING: Do not allow familiarity with tools to make you careless. Remember that a careless fraction of a second is suf-ficient to inflict se
Page 14 - LOOSE PARTS LIST
21OPERATIONBEVEL RIP CUT RIP CUTCROSS CUTMITER CUTCOMPOUND (BEVEL) MITER CUT BEVEL CROSS CUT1TYPES OF CUTSSee Figure 16.There are six basic cuts: 1) t
Page 15
22Fig. 18PUSH BLOCK“C” CLAMPSFEATHERBOARDPUSH STICKBEVEL LOCKING LEVEROPERATIONFig. 17FEATHERBOARDA featherboard is a device used to help cont
Page 16 - ASSEMBLY
23OPERATIONSCREWDRIVERBEVEL INDICATOR SCREWFig. 19Fig. 20GULLETTO CHANGE THE BLADE DEPTHSee Figure 19.The blade depth should be set so that th
Page 17
24OPERATIONWARNING:To reduce the risk of injury, always make sure the rip fence is parallel to the blade before beginning any operation.TO INSTALL THE
Page 18
25OPERATIONMAKING CUTSThe blade provided with the saw is a high-quality combi-nation blade suitable for ripping and cross cut operations. Carefully c
Page 19
26OPERATIONFig. 27Fig. 28RIP CUTMITER CUTTO MAKE A MITER CUTSee Figure 27.WARNING:Make sure the blade guard assembly is installed and working
Page 20 - OPERATION
27OPERATIONFig. 29Fig. 30BEVEL CROSS CUTBEVEL RIP CUTTO MAKE A BEVEL CROSS CUTSee Figure 29.WARNING:Make sure the blade guard assembly is insta
Page 21
28OPERATION Position the rip fence the desired distance from the right side of the blade and lock down the lever. Place a support the same hei
Page 22
29OPERATIONNON-THROUGH CUTBLADE GUARD REMOVEDTO MAKE A NON-THROUGH CUTSee Figure 32.Non-through cuts can be made with the grain (ripping) or across th
Page 23
3WARNING:Read and understand all instructions. Failure to follow all instructions listed below, may result in electric shock, fire and/or serious perso
Page 24
30ADJUSTMENTSLOCKING HANDLECLAMP SCREWRIP FENCESAW BLADEFig. 33WARNING:Before performing any adjustment, make sure the tool is unplugged from the powe
Page 25
31ADJUSTMENTSTO SET THE 90° POSITIVE STOPSee Figure 34.Make sure the saw is unplugged from the power source. Raise the blade to the maximum hei
Page 26
32WARNING:When servicing, use only identical Ryobi replacement parts. Use of any other parts may create a hazard or cause product dama
Page 27
33TROUBLESHOOTING Problem Possible Cause SolutionExcess Vibration. Rip fence does not operate smoothly. Cutting binds or burns work. Wood edges a
Page 28
983000-3553-10-08 (REV:05)OPERATOR’S MANUAL10 in. TABLE SAW BTS10SBTS10SONE WORLD TECHNOLOGIES, INC.1428 Pearman Dairy Road, Anderson, SC 29625Tel.:1-
Page 29
4GENERAL SAFETY RULES work or around or over the blade while blade is rotating. Do not attempt to remove cut material when blade is moving.
Page 30 - ADJUSTMENTS
5SPECIFIC SAFETY RULES NEVER perform any operation “freehand” which means using only your hands to support or guide the workpiece. Always use either
Page 31
6SYMBOLSSome of the following symbols may be used on this tool. Please study them and learn their meaning. Proper interpretation of these symbols will
Page 32 - MAINTENANCE
7SYMBOLSSERVICEServicing requires extreme care and knowledge and should be performed only by a qualified service tech-nician. For service we suggest yo
Page 33 - TROUBLESHOOTING
8ELECTRICALSPEED AND WIRINGThe no-load speed of this tool is approximately 4,800 rpm. This speed is not constant and decreases under
Page 34
9GLOSSARY OF TERMSNon-Through CutsAny cutting operation where the blade does not extend completely through the thickness of the workpiece.Push
Plus de documents pour Scies à moteur Ryobi BTS10S

Ryobi BTS10S Manuel d'utilisateur
(34 pages)

Ryobi BTS10S Manuel d'utilisateur
(34 pages)

Ryobi BTS10S Manuel d'utilisateur
(36 pages)
Produits connexes et manuels pour Scies à moteur Ryobi BTS10S
 (34 pages)
 (36 pages)
 (40 pages)
© 2020, manymanuals.fr. Tous droits réservés | 1.289 s |
 Manymanuals.com
 Manymanuals.de
 Manymanuals.fr
 Manymanuals.it
 Manymanuals.pl
 Manymanuals.cz
 Manymanuals.es
 Manymanuals-pt.com
Commentaires sur ces manuels