Ryobi 105r Manuel d'utilisateur
Naviguer en ligne ou télécharger Manuel d'utilisateur pour Matériel de jardinage Ryobi 105r. Ryobi 105r User Manual Manuel d'utilisatio
- Page / 16
- Table des matières
- DEPANNAGE
- MARQUE LIVRES
Noté. / 5. Basé sur avis des utilisateurs
FOR QUESTIONS, CALL 1-800-345-8746 in U.S. or
1-800-265-6778 in CANADA
www.ryobi.com
IMPORTANT MANUAL DO NOT THROW AWAY
OPERATOR’S MANUAL
Electric Trimmers
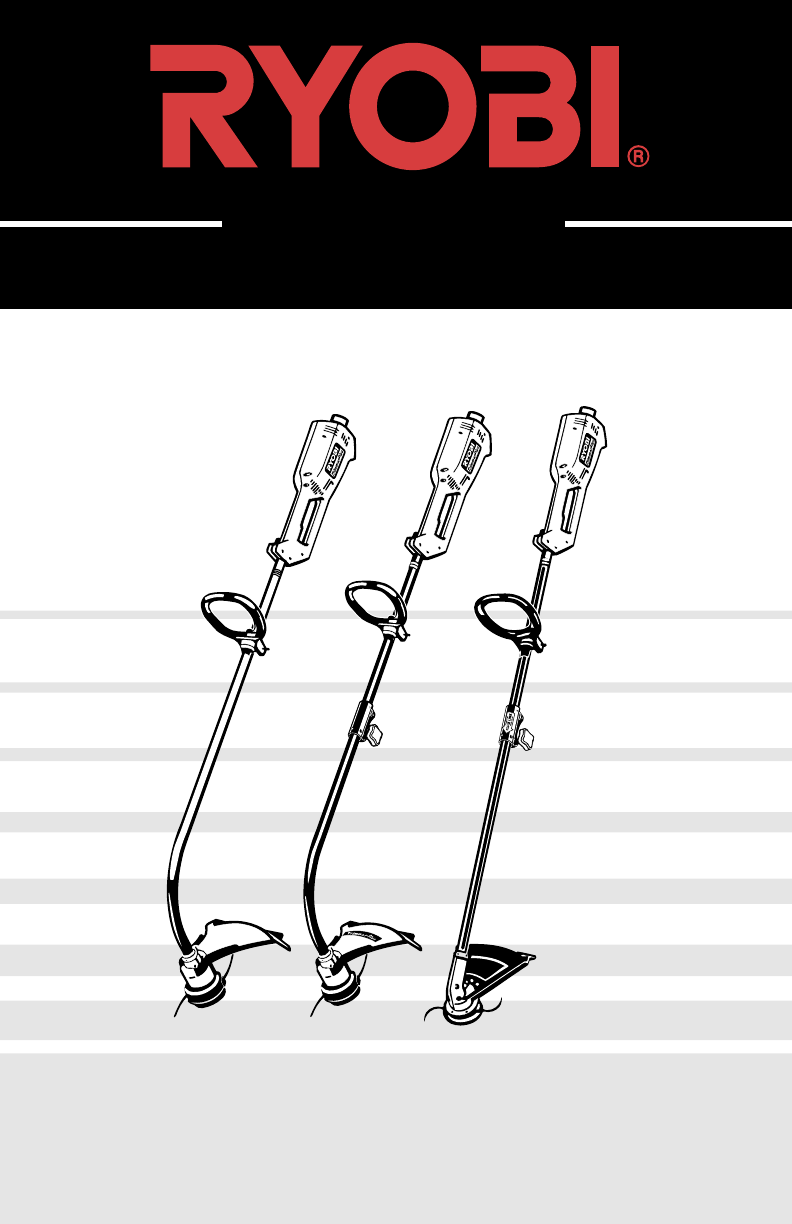
105r, 132r, & 137r
Résumé du contenu
Page 1 - OPERATOR’S MANUAL
FOR QUESTIONS, CALL 1-800-345-8746 in U.S. or 1-800-265-6778 in CANADAwww.ryobi.comIMPORTANT MANUAL DO NOT THROW AWAYOPERATOR’S MANUALElectric Trimmer
Page 2 - TABLE OF CONTENTS
10OPERATING INSTRUCTIONSFig. 15aADJUSTING THE TRIMMING LINE LENGTHYour trimmer is equipped with a bump head,which allows the operator to release moret
Page 3 - SAFETY WARNINGS
11MAINTENANCE AND REPAIR INSTRUCTIONSFig. 17Fig. 18Fig. 19LINE INSTALLATION FOR THESPEEDSPOOL®The trimming line in the speed spool may bereplaced by t
Page 4
12MAINTENANCE AND REPAIR INSTRUCTIONS4. Pull the line away from the spool until the lineis tight against the inner reel (Fig. 20).Fig. 20Fig. 22Fig. 2
Page 5
13MAINTENANCE AND REPAIR INSTRUCTIONSFig. 28Fig. 27Fig. 26Fig. 252. Remove the Bump Knob, foam seal, spring,inner reel, and trimming line from the out
Page 6
14MAINTENANCE ANDREPAIR INSTRUCTIONSSPECIFICATIONSMOTORMotor type . . . . . . . . . . . . . . . . . . . . . . . . . ElectricOperating RPM . . . . .
Page 7 - ASSEMBLY INSTRUCTIONS
15NOTES
Page 8
SAVE THESE INSTRUCTIONS FOR FUTURE REFERENCE.FOR QUESTIONS CALL 1-800-345-8746 IN U.S.OR 1-800-265-6778 IN CANADAOPERATOR’S MANUAL PART NO. 181674 REV
Page 9
INTRODUCTION 2TABLE OF CONTENTS THANK YOUThank you for purchasing this quality product. This modern outdoor power tool is designed toprovide many hour
Page 10 - OPERATING INSTRUCTIONS
3SAFETY WARNINGS• To reduce the risk of electrical shock, this unithas a polarized plug (one blade is wider thanthe other) and will require the use of
Page 11
SAFETY WARNINGS4• Thoroughly inspect the trimmer for loose or damaged parts before each use. Do not use until adjustments or repairs are made.• All gu
Page 12
5SAFETY WARNINGS• Do not wear loose fitting clothing or articlessuch as scarves, strings, chains, ties, etc.,because they could get caught in movingpa
Page 13
6SAFETY AND INTERNATIONAL SYMBOLSThis operator's manual describes safety and international symbols and pictographs that mayappear on this product
Page 14 - TROUBLESHOOTING
7ASSEMBLY INSTRUCTIONSIf the D-Handle on your unit is notassembled, use the following instructions.INSTALLING THE D-HANDLE1. Push the D-Handle down ov
Page 15
8ASSEMBLY INSTRUCTIONSIf the string guard on your unit is notinstalled, use the following instructions.INSTALLING THE STRING GUARD -MODEL 137rWARNING:
Page 16 - OR 1-800-265-6778 IN CANADA
9OPERATING THE CLICK-LINK®SYSTEM -MODELS 132r AND 137rModels 132r and 137r are equipped with a Click-Link System, which enables optional attachmentsto
Produits connexes et manuels pour Matériel de jardinage Ryobi 105r


 (34 pages)
© 2020, manymanuals.fr. Tous droits réservés | 0.839 s |
 Manymanuals.com
 Manymanuals.de
 Manymanuals.fr
 Manymanuals.it
 Manymanuals.pl
 Manymanuals.cz
 Manymanuals.es
 Manymanuals-pt.com
Commentaires sur ces manuels