Ryobi MS181 Manuel de l'opérateur Page 30
- Page / 32
- Table des matières
- MARQUE LIVRES
- OPERATOR'S MANUAL 1
- 8-1/4 in. (209.6 mm) Cordless 1
- Compound Miter Saw 1
- Model MS181 1
- TABLE OF CONTENTS 2
- PRODUCT SPECIFICATIONS 2
- INTRODUCTION 2
- RULES FOR SAFE OPERATION 3
- SAVE THESE INSTRUCTIONS 8
- UNPACKING 9
- TOOLS NEEDED 9
- LOOSE PARTS LIST 10
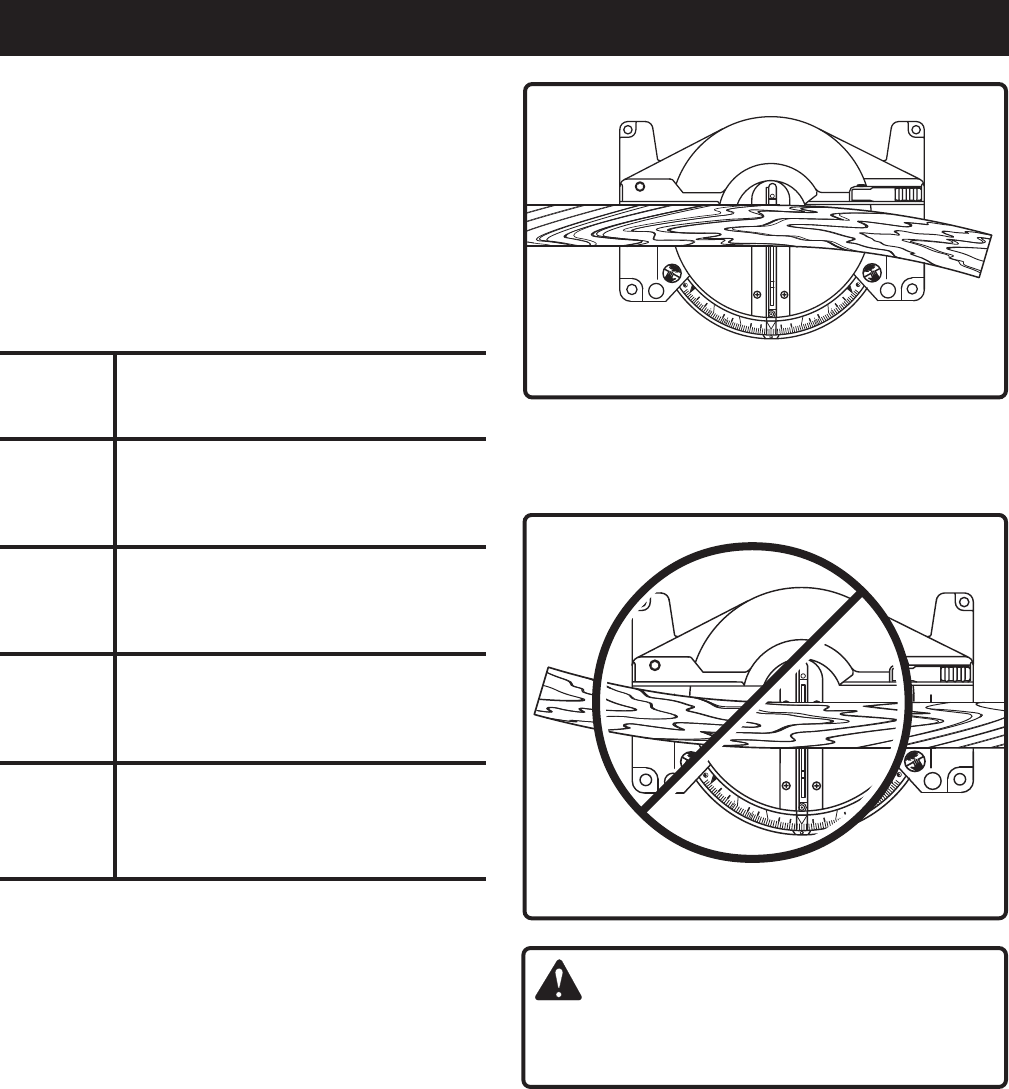
- WARNING: 10
- FEATURES 12
- ADJUSTMENTS 15
- CAUTION: 17
- PIVOT ADJUSTMENTS 22
- TRAVEL PIVOT ADJUSTMENT 22
- BEVEL PIVOT ADJUSTMENT 22
- DEPTH STOP 22
- DEPTH STOP ADJUSTMENTS 22
- TO INSTALL BATTERY PACK 23
- TO REMOVE BATTERY PACK 23
- APPLICATIONS 23
- See Figure 33 24
- See Figures 40 and 41 24
- OPERATION 25
- MAINTENANCE 31
Produits connexes et manuels pour Scies à onglets Ryobi MS181
 (26 pages)
 (104 pages)
© 2020, manymanuals.fr. Tous droits réservés | 1.074 s |
 Manymanuals.com
 Manymanuals.de
 Manymanuals.fr
 Manymanuals.it
 Manymanuals.pl
 Manymanuals.cz
 Manymanuals.es
 Manymanuals-pt.com
Commentaires sur ces manuels